Chainmail armors, those impressive flexible and durable protections made up of thousands of interlinked small rings, have captured humanity’s imagination for centuries. They are a testament to the ingenuity and craftsmanship of past ages. But have you ever stopped to think about the fundamental component that makes them up: the rings? Understanding the rings is crucial for appreciating chainmail in all its glory, whether from a historical perspective, for reenactment, or even if you venture to make your own.
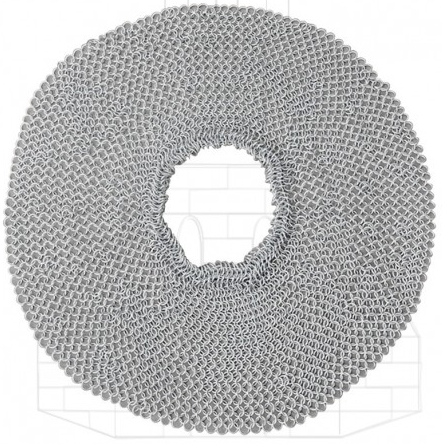
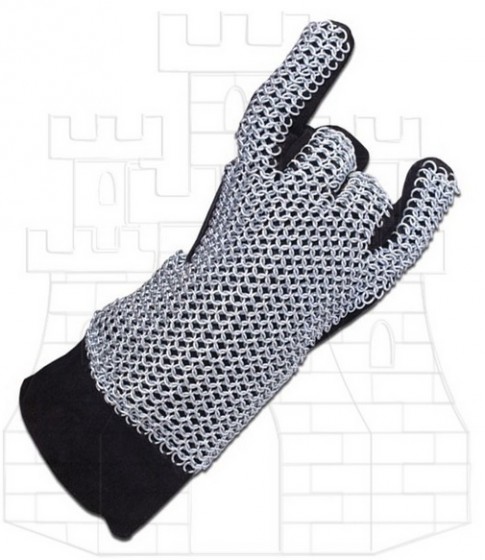
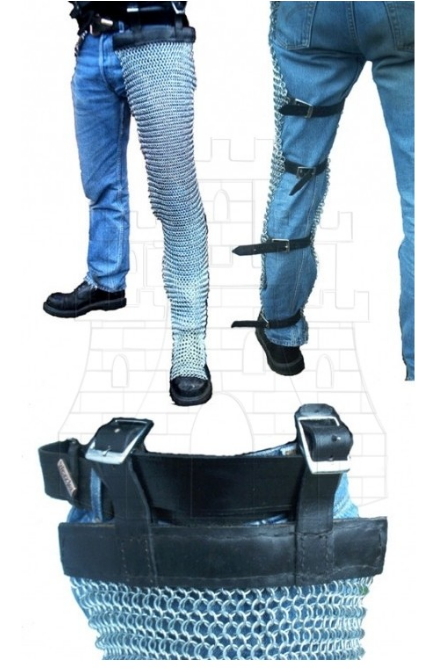
This article will guide you through the fascinating world of chainmail rings, from their origins to the various types and the meticulous process of their creation and maintenance. If you are thinking of making your own chainmail, a coif, gloves, or leg guards, you will need, besides the rings, some pliers and a lot of patience.
A Journey Through Time: The History of Mail Rings
Although their exact origin is uncertain, the oldest chainmail finds date back to the 4th century BC in Celtic cultures in Europe. The Gauls or Celts are recognized as the inventors of chainmail. The Romans soon adopted this innovative form of protection, calling it Lorica Hamata, and used it extensively throughout their empire. They often combined stamped rings with riveted or welded rings. Roman chainmails typically used 6 mm rings of inner diameter (ID), resulting in a finer, stronger weave, allowing up to 30% lighter armor without sacrificing protection.
During the Middle Ages, chainmail reached its peak in Europe, becoming a symbol of knighthood. The most common pattern in medieval Europe was the “4 in 1“, where each ring connects with four others. However, other techniques existed as well. With technological advances, chainmail experienced a slow decline, but its legacy endures, and the technique is still used today in modern protective clothing.
Choosing the Right Rings: Material, Shape, and Closure
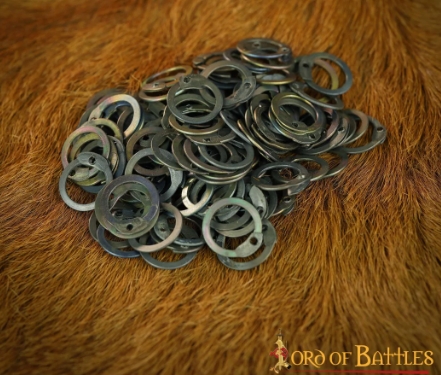
If you plan to acquire or make chainmail, the choice of rings is fundamental and will determine the final piece’s quality, authenticity, and functionality. Rings differ mainly in their material, shape, and closure technique. You can save a lot of time by buying pre-made rings, since you will only need to join them together.
Material
- Carbon steel: The most historically authentic material, but requires regular care to prevent rust.
- Spring steel: Offers high strength and less tendency to rust.
- Aluminum: Much lighter, ideal for LARP (Live Action Role Playing) or costumes. An aluminum haubergeon can weigh less than half of a steel one.
- Coating: Rings can be uncoated (most authentic), galvanized (reduce rusting, but is a modern and visually noticeable addition) or blued (give a good appearance and some protection).
Shape and Inner Diameter (ID)
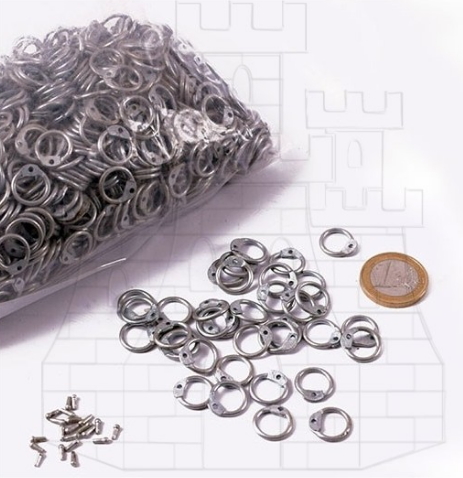
Rings can be round or flat. Flat ones, hammered flat, can distribute force better and are more resistant. As for the inner diameter, the most common are 6 mm, 8 mm, and 9 mm. A smaller ID results in a tighter and thus stronger weave, although more rings are needed for the same area.
Closure Technique
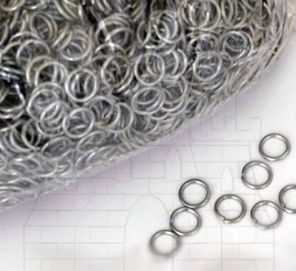
- Non-riveted rings (butted): Simply bent. The cheapest and fastest, but offer the least resistance.
- Riveted rings: The ends overlap and are joined with a small rivet. The most robust and offer greater protection.
- Punched (solid) rings: Cut from a single piece of metal and cannot be opened.
- Welded rings: A more recent method that offers a good balance of stability and production effort.
The Art of Weaving Your Own Chainmail
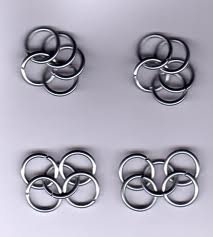
Making chainmail is a task that requires patience, endurance, and dedication. Specialist blacksmiths, known as “sarwürker” in the Middle Ages, enjoyed great prestige. To begin, you will need at least two pairs of pliers, a wire cutter, and a mandrel. To join the rings, the most common method is the “4 in 1” pattern.
The process is simple: take an open ring and insert four closed rings into it, then close the open ring. This will be your first “quintet”. Once you have a few, you can join them using another ring, and so on, until you form a chain. To link two chains, use another open ring and pass it through the bottom two rings of the lower chain and the bottom two rings of the upper chain.
If you’ve managed, you can now start making mesh. All that’s left is to expand the weave wherever you want. And you can start designing whatever piece you want to make, whether gloves, chainmails, or any other protection.
Caring for and Repairing Your Ring Armor
Like any armor, chainmail requires constant maintenance to preserve its durability and effectiveness. Regular cleaning and oiling are essential to prevent rust and ensure the rings move freely. If your chainmail is made of uncoated steel, oiling it occasionally will prevent rust issues.
It is inevitable that, with use, some rings will loosen or break. Fortunately, repairing chainmail is a relatively easy process.
Repairing rings
- For non-riveted chainmails: Simply open a new ring, place it where needed, and close it with pliers.
- For riveted chainmails: The process is similar, but once the new ring is bent and closed, you must insert and fix the rivet with special pliers.
The Legacy of the Ring
Chainmail rings are much more than simple metal pieces; they are the foundation of an armor that redefined warfare and became a cultural symbol. Their seemingly simple design conceals sophisticated engineering and a rich history, demonstrating how craftsmanship and human ingenuity can create innovations that last through the millennia. Understanding the different types of rings and their manufacturing process not only enriches our historical knowledge, but also connects us with the art and dedication of those who forged and wove them centuries ago.
If you would like to start your own project or simply wish to add an authentic piece of protection to your collection, we invite you to explore our wide selection of rings for chainmail, chainmails and coifs. You’ll find everything you need to bring your projects to life, from loose rings to fully finished pieces, all with the quality and authenticity you seek.
