What makes a katana a blade worthy of legend? It’s not just the steel or the perfect curve: it’s the edge, that living line that demands respect, technique, and patience. In this guide, you will learn why sharpening is an act of preservation, what tools and techniques to use, when to go to a professional, and how to maintain the edge for generations.
Evolution and stages of katana sharpening and polishing
The history of katana sharpening is as rich as the legend surrounding the samurai. Understanding its evolution helps to appreciate each phase of the modern process and to recognize why certain traditional techniques are still valid. Below is a chronology that includes historical milestones and the traditional technical stages of sharpening.
| Date / Stage | Event / Description |
|---|---|
| Historical Chronology | |
| Heian Period (mid) | The Engishiki (court ceremony code) contains descriptions of sword polishing, indicating that polishing was already an established process in Japanese sword making. |
| Kamakura Period (1185–1333 / 1192–1333) | Development of the katana with a curved blade for more effective cuts in mounted combat. The Kanchiin Honmeizukushi book mentions “Togishi” names, evidencing the existence of specialized sharpeners/polishers. The increasing importance of sharpening is appreciated; blacksmiths and sharpeners begin to perfect and transmit techniques. |
| Period of the Northern and Southern Dynasties (Nanbokuchō) | The Honami family, whose founder Honami Myohon served Ashikaga Takauji, decisively contributed to the transmission and development of the art of sword polishing. |
| Edo Period (early) | The Hon’ami house continues to serve the Toyotomi and Tokugawa families. Hon’ami Koetsu stands out, contributing talent to both the katana trade and other arts (calligraphy, tea ceremony), consolidating the artistic value of the craft. |
| Meiji Period (1868–1912) | With the end of samurai society, swords are mostly valued as works of art; polishing is aimed at enhancing aesthetics. Honami Heijuro Narushige develops a technique called “cosmetic sharpening.” Some branches of the Hon’ami family disappear, others survive. |
| Early 20th century | – Honami Rimga (born Yamamoto), master craftsman, dies in 1927. – Honami Koureki (Sadakichi, born 1879) publishes the book “Japanese Swords” in 1914 to disseminate polishing and classification methods. |
| Mid-20th century (1955) | Honami Koureki publishes “The Rules and Characteristics of Japanese Swords” in 1955; that same year he dies at the age of 77. His work helps to systematize knowledge about polishing and typologies. |
| Present day | Togishi still exist but are few. The NBTHK (Society for the Preservation of Japanese Swordmaking) requires a ten-year apprenticeship to license a Togishi, which elevates their cultural status and makes them true national treasures. |
| Chronology of the traditional sharpening and polishing process | |
| Step 1 — Forging Press / Grinding (by the swordsmith) | First step performed by the forger: giving the initial shape to the hardened blade, determining lines and general finish, and checking the blade before sending it to the Togishi. |
| Step 2 — Basic Sharpening / Grinding Wheel Sharpening (by the Togishi) | Process to shape and begin to highlight the beauty of the blade through a progression of coarse to fine grit stones (approx. 7 types): |
| Iyoto (grit 120–220) | Coarsest stone: removes red rust and gives the general shape, maintaining the nikuoki (thickness) defined at this stage. |
| Binsuido (≈ grit 400) | Removes the grit left by Iyoto, adjusts details, and polishes the historical shape of the blade. The “kiri” sharpening method is used. |
| Kaiseido (≈ grit 800) | Removes Binsui grit carefully so as not to remove excess material; here it is sharpened at an angle that produces a “sujikai.” |
| Chū nagurato (grit 1.000–1.500) | Work in two phases: first a more oblique angle (“osujikai”) to eliminate previous marks; then a vertical polish called “tatsu-tsuki.” At this stage, the sword can be sent to mounting artisans. |
| Hosona Kurato (grit 2.000) | Last step of base layer sharpening; the drawing (hada) and the surface of the blade begin to become clearly visible. |
| Step 3 — Finishing Sharpening | Fine and final polishes to turn the blade into a work of art, using small stones and abrasive powders: |
| Ha tsuya | Fine polishing of the edge with small stones manipulated with the fingertip; removes residual grit from previous grinding wheels and contributes to the “bubbling” and “smell” that define the pattern. |
| Jidzuya | Use of a very fine stone to highlight all aspects of the “ji” (base surface), the skin pattern (hada), and the “jiobu.” Key step in aesthetic finishing. |
| Migaki (final polish) | Final polishing of areas such as shinogi-ji and mune with spatula and polishing stick, using powders such as tsunoko and ibota to achieve a mirror-like shine without losing the forged patterns. The polisher draws the “nagashi” line as a signature of the work. |
What you will learn and why it matters
By reading this text, you will be able to distinguish between sharpening that respects the katana’s structure and sharpening that wears it down. You will learn to choose the correct stones, maintain a stable angle, identify signs of damage that require a professional togishi, and apply the subsequent care that protects the emotional and material investment a Japanese sword represents.
Sharpening is not an aesthetic end: it influences safety, the blade’s lifespan, and fidelity to traditional art. Sharpening and polishing are two complementary acts: one creates the edge; the other reveals the soul of the steel.
Essential tools: stones, sandpaper, and accessories
In inexperienced hands, any tool can become an enemy of the blade. These are the tools you should know and why they matter.
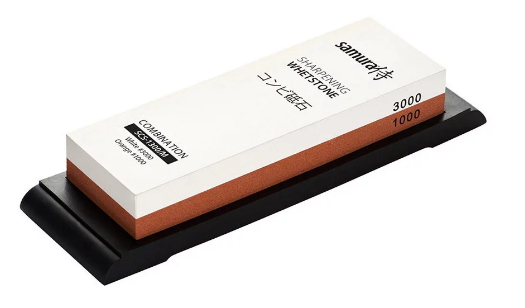
- Whetstones: the basis of traditional sharpening. They are worked in grain progression from 120–220 to 8000 depending on the desired finish.
- Strop block: for the final finish and to remove microscopic burrs before mirror polishing.
- Wet sandpaper: useful for removing deep marks in intermediate stages, always with care.
- Corner and angle guides: help maintain consistency in practice phases or when polishing is not done by a professional.
- Oils and lubricants: essential for preservation after polishing. Not all oils are the same; below you will find a comparative table.
Table: stone selection by objective
| Thickness/Grit | Objective | Recommended use |
|---|---|---|
| 120–220 (Iyoto) | Remove rust, give initial shape | Repairs and initial grinding by professional |
| 400–800 (Binsuido / Kaiseido) | Refine shape, remove deep marks | Intermediate work, remove visible burrs |
| 1.000–1.500 (Chū nagurato) | Base sharpening and transition | Used by experienced sharpeners, leaves a functional edge |
| 2.000–8.000+ | Aesthetic polishing and mirror shine | Final finish, display, and preservation |
Recommended sharpeners and accessories
Traditional method: the togishi ritual step by step
The traditional method is an almost ritual practice that respects the thermal structure and the hardness combination of the katana. Here we describe the phases with the necessary precision to understand where to act and when to stop.
- Disassembly and prior cleaning: Remove the tsuka if possible and clean the blade with a soft cloth to remove residue and old oil.
- Inspection: Observe the hada, the hamon, and look for nicks or corrosion. Determine if the work is maintenance or repair.
- Initial grinding (Iyoto): This is done with coarse-grit stones to recover geometry. This step should be performed by a togishi if there is significant metal loss.
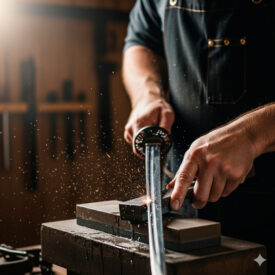
- Stone progression: From medium to fine grit, each stone removes the marks left by the previous one. Maintain a constant angle (between 10–20° depending on the school) and fluid movements from base to tip.
- Fine polishing and jizuya/ha tsuya: Use of small stones and abrasive powders to highlight hada and hamon. Here the aesthetic magic appears: the blade reveals its pattern.
- Migaki and finishing: Mirror polishing with tsunoko/ibota and final application of oil to seal the surface.
Technical tips to preserve hamon and hada
- Maintain light and constant pressure: too much pressure tears away material and hardens the bevel.
- Avoid short and erratic movements; sharpening should cover the entire length of the blade in each pass.
- Dampen the stone as indicated by the manufacturer: natural stones usually need soaking.
- Avoid polishing areas not intended for the edge, such as the back of the blade, to avoid altering the curvature or temper.
Commercial method: modern tools and their responsible use
Commercial solutions can offer accessibility without losing quality, as long as they are used knowledgeably. A guided sharpener, for example, ensures constant angles but does not replace the expert eye when there is structural damage.
- Guided sharpeners: Ideal for quick maintenance and users who have not yet mastered manual technique.
- Cleaning kits and wet sandpaper: Designed to maintain the edge and remove superficial oxidation.
- Synthetic hone stones: Good grit stability and less maintenance than natural stones.
When to choose a commercial method
- If the blade only needs minor maintenance and you have a practice or replica katana.
- If you do not want to manipulate the tsuka or do not have experience with progressive stones.
- For users looking for speed and safe results without the risk of modifying the blade’s geometry.
Post-maintenance: cleaning, oil, and storage
Care after sharpening prolongs the edge and prevents corrosion. A good post-ritual preserves the forger’s work.
| Type | Main Features | Recommended Use |
|---|---|---|
| Mineral oil | High penetration, does not degrade or attract dirt | Regular protection and maintenance |
| Camellia oil | Natural, acid-free, non-volatile | Antioxidant protection, lubrication |
| Lithium grease | Dense, durable, does not evaporate | Extended storage, protection |
Basic conservation steps: clean with a lint-free cloth, apply a thin layer of oil (e.g., camellia), inspect the blade periodically, and store the katana in a dry, stable place. For prolonged storage, wrap the blade in oiled paper and avoid fluctuations in humidity and temperature.
Errors that wear down a katana and how to avoid them
- Not maintaining a constant angle: changes the edge geometry and creates weak spots.
- Sharpening only one side: produces deviations and modifies the cutting curve.
- Using inappropriate stones: a stone that is too coarse can remove excess material; one that is too fine will not solve deep damage.
- Applying too much pressure: increases heat and can alter microstructures of tempered steel.
- Not cleaning or oiling afterward: facilitates oxidation and premature loss of the edge.
Clarifying doubts about katana sharpening
What are the most effective techniques for sharpening a katana?
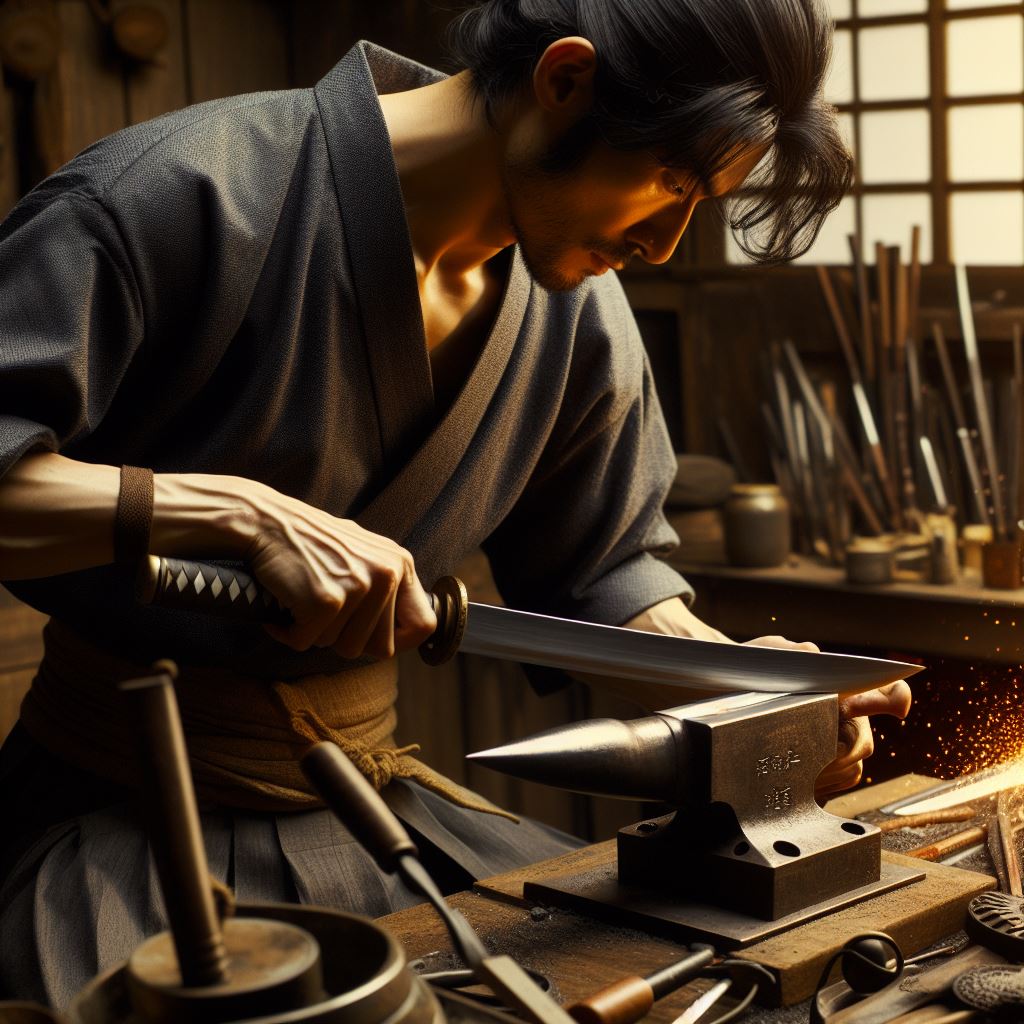 The most effective techniques for sharpening a katana are the use of traditional sharpening stones with different grits, starting with a coarse-grit stone and progressing to finer grits, maintaining a constant angle between 10 and 15 degrees (or up to 30 degrees depending on the style and purpose). Sharpening is done by sliding the blade over the stone in uniform and constant movements from the base to the tip, with adequate pressure to achieve an even and durable edge. It is important to dampen the stone with water (or occasionally oil) to reduce friction and facilitate sharpening. In addition, before sharpening, the handle must be disassembled and the blade cleaned to work correctly without damage.
What type of sharpening stone is best for sharpening a katana?
The best stone for sharpening a katana is a Japanese sharpening stone (whetstone) of medium grit, between 1000 and 1500, to effectively restore the edge; for fine finishing, it is recommended to use higher grit stones, from 3000 to 8000, depending on the desired polishing level. These stones can be water stones, which require lubrication with water during sharpening.
This set ensures efficient and respectful sharpening of the katana blade, maintaining its quality and durability.
How do you keep a katana sharp for a long time?
A katana is kept sharp for a long time through constant care that includes proper sharpening with traditional techniques, maintaining a constant angle and pressure during sharpening, cleaning it regularly to prevent rust, and applying special oil that protects the blade from corrosion and maintains its edge. In addition, correct storage in dry environments, wrapped in oiled paper, and periodic inspections help preserve its edge and prevent damage to the steel.
- Professional and careful sharpening respecting a stable angle (generally between 15-20 degrees).
- Frequent cleaning to remove dirt and moisture.
- Application of special oil designed for swords.
- Protected storage, using traditional methods such as oiled paper.
- Periodic inspections to re-oil and detect possible damage.
What common mistakes should be avoided when sharpening a katana?
The common mistakes to avoid when sharpening a katana are:
- Not maintaining a constant angle during sharpening, as varying the angle can damage the edge or produce an uneven sharpening. An angle of approximately 10 to 20 degrees constant on both faces of the blade is recommended.
- Sharpening only one side of the blade or doing it unevenly, which can unbalance the sword and affect its performance.
- Using an inappropriate sharpening stone, either too coarse or too fine for the katana’s wear level, which can remove too much material or not sharpen effectively.
- Applying too much pressure or abrupt movements, which can damage the edge structure.
- Not preparing the sharpening stone correctly, such as not soaking it if it is a natural stone, which reduces its effectiveness and can damage the blade.
- Not cleaning or oiling the katana after sharpening, which facilitates oxidation and deterioration of the blade.
- Not having adequate experience or not consulting a specialist, as katana sharpening is delicate and incorrect handling can ruin the sword or cause accidents.
Avoiding these mistakes contributes to preserving the integrity, effectiveness, and longevity of the katana during its sharpening and maintenance.
What is the difference between sharpening a katana and a Western sword?
The main difference between sharpening a katana and a Western sword lies in the blade structure and steel treatment. The katana has a very hard edge and a softer body due to differential tempering, often achieved with a clay coating that allows the edge to cool faster and harden more, while the rest of the blade remains flexible. Therefore, katana sharpening is performed carefully to preserve this edge hardness without damaging the body’s flexibility. In contrast, Western swords are usually made of homogeneous steel or have a more uniform temper, which allows for sharpening that does not require as much consideration for the balance between hardness and flexibility.
Additionally, the katana is a curved blade with a single sharp edge, so sharpening focuses on one side, while many Western swords are straight and double-edged, requiring both edges to be sharpened equally. The katana’s edge tends to be sharper and thinner, suitable for clean cuts, unlike many European swords that balance cutting and thrusting and have thicker edges.
In summary, sharpening a katana involves special care to preserve its hard edge and the body’s flexibility with a single edge to sharpen, while sharpening a Western sword is usually more direct, with a homogeneous steel treatment and, in many cases, both edges to sharpen.
| Type | Main Features | Recommended Use |
|---|---|---|
| Mineral oil | High penetration, does not degrade or attract dirt | Regular protection and maintenance |
| Camellia oil | Natural, acid-free, non-volatile | Antioxidant protection, lubrication |
| Lithium grease | Dense, durable, does not evaporate | Extended storage, protection |
- Mineral oil
-
- Features: High penetration, does not degrade or attract dirt
- Recommended use: Regular protection and maintenance
- Camellia oil
-
- Features: Natural, acid-free, non-volatile
- Recommended use: Antioxidant protection, lubrication
- Lithium grease
-
- Features: Dense, durable, does not evaporate
- Recommended use: Extended storage, protection
The ultimate edge: reflect and act
Mastering the sharpening of a katana is a path that mixes technical skill and historical reverence. If you value the piece, respect its times: practice on tools of lesser value, learn to recognize signs of damage, and when the task exceeds your capabilities, trust a qualified togishi. The katana will thank you with a clean cut, enduring beauty, and a story that remains alive.
VIEW SHARPENERS | VIEW KATANA CLEANING KITS | VIEW SWORD LUBRICANTS

