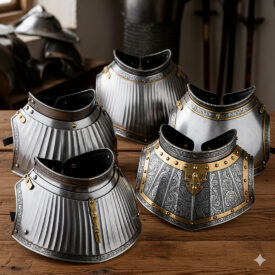
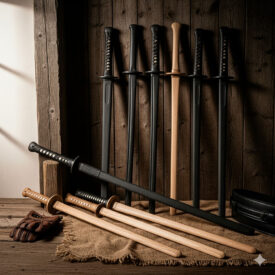
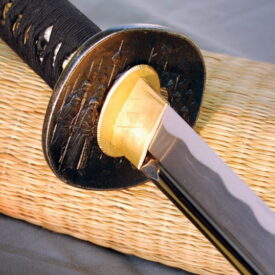
The manufacture of chainmail is a craft that combines history, technique and patience: an armor formed by thousands of interlinked rings that was a protagonist on the battlefields and that today remains alive in reenactment, LARP and industrial protection. In this article you will learn from the historical origin of chainmail, through the selection of materials and tools, to a step-by-step guide to manufacturing rings and weaving the famous European 4 in 1 pattern, as well as practical maintenance and repair tips.
Why chainmail manufacturing is of interest today
Beyond historical romanticism, the manufacture of chainmail has current applications: faithful historical reenactment, lightweight and safe pieces for LARP, protective components for industries (such as butcher’s gloves) and, of course, exhibition pieces. Understanding the technique allows you to choose between authenticity and practicality, decide on materials, fastening techniques and plan the necessary maintenance for the piece to endure.
An echo of the past: a brief history of chainmail
The first evidence of metal mesh dates back to approximately the 4th century BC among Celtic cultures; the invention of ring armor is often attributed to the Gauls. The Romans adopted and adapted the idea (the Lorica Hamata), often combining stamped rings with riveted or punched rings. In the Middle Ages, weaving specialized and the 4 in 1 pattern became widespread throughout much of Europe. A chainmail could have between 28,000 and 50,000 rings and its manufacture was a labor that consumed hundreds of hours, which explains why they were so valued and passed down as family heritage.
| Period / Date | Key Event and Development |
|---|---|
| Origins and Adoption (5th Century B.C. – 3rd Century B.C.) | |
| 5th Century B.C. | Early forms of mesh armor are evidenced in **Celtic** cultures. |
| 4th Century B.C. | The origins of mesh armor emerge (**La Tène** period). The Celts or the **Gauls** are considered the inventors. |
| 3rd Century B.C. | The **Romans** adopt chainmail and name it **Lorica Hamata**. |
| Around 50 B.C. | The Tiefenau chainmail (Celtic find) dates from this period, using a 6 in 1 pattern with simply bent rings. |
| Heyday in Antiquity and the Middle Ages | |
| Antiquity (Roman Period) | Chainmail is the standard equipment, worn up to the thigh by Roman **centurions**. The technique of forged and **riveted** rings is perfected. |
| 2nd Century A.D. | Roman legionaries begin to wear chainmail down to the **hip and with short sleeves**, with the gradual disappearance of shoulder pads. |
| 3rd Century A.D. | Roman chainmail becomes **long** again (down to the knee) and with **long sleeves**. |
| Middle Ages | Chainmail reaches its peak and becomes a symbol of **chivalry**. The most widespread pattern in Europe was the “**4 in 1**”. Specialized blacksmiths were called *sarwürker*. |
| 10th Century A.D. | The **Gjermundbu** mesh (an early example) is made of half-round and half-flat rings. |
| Decline and Modern Use | |
| 14th Century | The slow decline begins with the development of more powerful weapons such as **bows and crossbows**, and the emergence of **plate armor**. |
| 15th Century | Chainmail continues to be used to cover gaps (**voiders and coifs**) between pieces of plate armor. |
| Modern Times | Technology is applied in **modern protective clothing** (for example, for butchers or bulletproof vests). |
Selecting the rings: materials, shapes and closures
The choice of ring type dictates the durability, weight, appearance and authenticity of the chainmail. Below is a responsive comparison table with the most common options and their pros and cons.
| Material / Type | Advantages | Disadvantages |
|---|---|---|
| Carbon steel | Authentic historical appearance; high strength | Prone to oxidation; requires oiling and maintenance |
| Spring steel | Very resistant; deforms less | Difficult to work by hand; requires strong tools |
| Stainless steel | Corrosion resistant; less maintenance | More modern appearance; more expensive |
| Aluminum | Lightweight; ideal for LARP and costumes | Less resistant; deforms and can leave gray residue |
| Galvanized / Blued | Protection against oxidation; aesthetic finish | Galvanizing can react with sweat; removing zinc is dangerous; bluing can fade |
Furthermore, the shape of the ring (round or flat) and its inner diameter (ID) determine the density of the weave. A small ID (6 mm) produces a denser and more protective mesh than a larger one (8–9 mm), but requires many more rings and more working time.
Types of closure and their impact on authenticity
The rings are distinguished by their closing technique: butted (not riveted), riveted, punched (solid) or welded. For historical fidelity and maximum strength, riveted rings or combined with punched rings are the most recommended. Butted rings are fast and economical, useful for light or decorative projects, but are less reliable in demanding use.
| Closure | Recommended Use | Durability |
|---|---|---|
| Butted (unriveted) | LARP, costumes, decorative pieces | Low to medium |
| Riveted | Historical reenactment, real use | High |
| Punched (solid) | Combination with riveted for authenticity | Very high |
| Welded | Mass production, modern alternatives | High |
Essential tools for making chainmail
Before you start, gather basic tools: needle-nose pliers, wire cutters, flat pliers, a mandrel or metal rod for winding the wire, hammer, punch for rivets (if riveting), and personal protection (heavy-duty gloves and safety glasses). If you make many rings, a drill that rotates the rod speeds up the winding process.
How to make your own rings: step by step
If you decide to make rings from wire, follow these basic steps. Remember: safety (glasses and gloves) and consistency are key.
1. Prepare and wrap
Select a metal rod of the desired diameter to obtain the appropriate ID (e.g., a 6 mm rod for 6 mm ID rings). Wrap the wire firmly and evenly around the rod. For mass production, fix the rod in a drill and guide the wire as the rod rotates. Secure the end so that the coil does not unwind.
2. Cut the rings
With the coil formed, cut ring by ring with wire cutters or a hacksaw to get a clean cut. Keep your hand steady and use eye protection, as small pieces can fly off. Make sure the ends are as even as possible to facilitate closing or riveting.
3. Close or prepare for riveting
If you are working with butted rings, close each ring with pliers until the ends touch without burrs. If you are going to rivet them, leave a uniform overlap to place the rivet and hammer it. For punched rings there is no closure to make, and for welded rings you will need specialized equipment.
4. Riveting (optional, but recommended)
For greater strength, rivet each ring. Insert a small rivet into the overlap and strike with a hammer and punch until it is firm. Riveting reproduces the most robust historical method and extends the lifespan of the piece.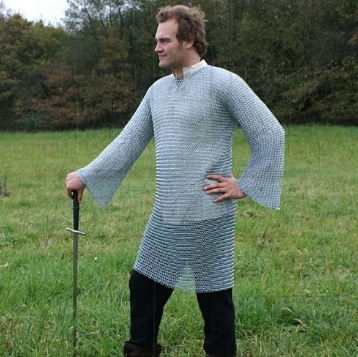
Weaving the mail: European 4 in 1 pattern and practical tips
The 4 in 1 pattern is the most widespread: each open ring connects four closed rings. Below is a clear method to start and scale to larger pieces.
- Create the first quintet: open a ring, pass it through four closed rings and close it forming a unit of five.
- Expand the weave: add rings to the edges or form several units separately and join them later.
- Join sections: to join two strips, pass an open ring through two lower rings of each section and close it.
- Consistency in orientation: always maintain the same orientation of ring closure so that the pattern is uniform and the garment retains its shape.
Practical advice: for large pieces, orient the rows vertically so that the garment drapes correctly and does not deform under its own weight. Start with a coif, bracelet or sample collar before embarking on a complete hauberk.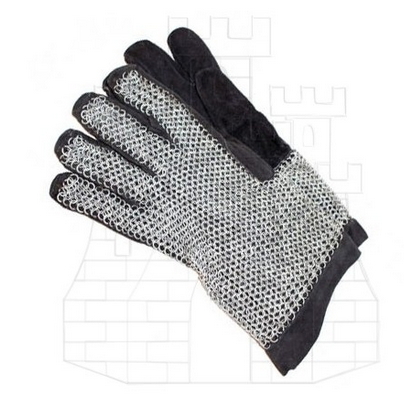
Common mistakes and how to avoid them
Common mistakes when making chainmail are: using an inadequate rod (wood that deforms), cutting rings with very uneven cuts, closing rings poorly aligned, or mixing incompatible materials. Avoid them by using metal mandrels, sharp tools, and maintaining periodic quality control: review every 100–200 rings and correct deviations.
Care, maintenance and storage
A chainmail requires regular attention. Below is a practical conservation plan:
Routine cleaning
- Dry cleaning: shake and brush to remove dust.
- Wet cleaning: use warm water with gentle soap and rinse thoroughly.
- Drying: dry completely with towels, air out and pay attention to overlapping areas.
Remove rust and protect
For mild oxidation, brush with soft wire or fine sandpaper. For more advanced rust, use rust converters according to instructions and clean again. Apply a thin layer of protective oil (Ballistol, gun oil or recommended lubricants) and remove excess so that it does not attract dirt.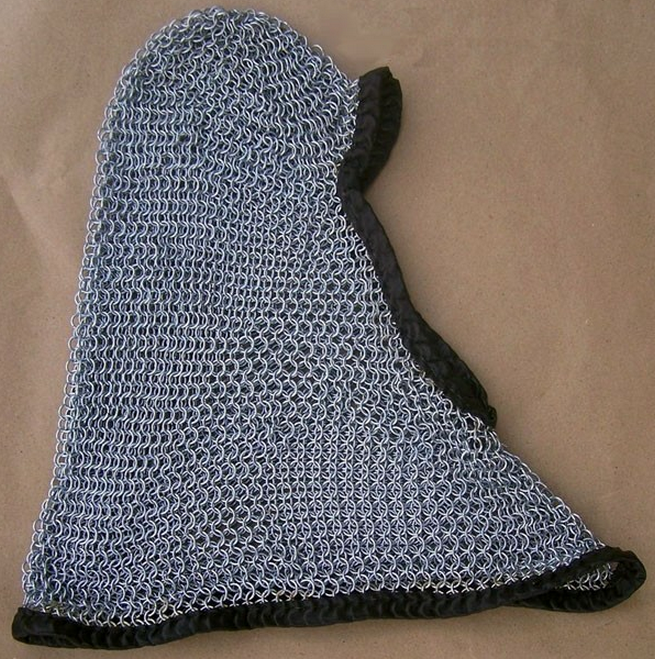
Oiling and frequency
Oil lightly after each intense use or at least every 3–6 months if the piece is on display. For prolonged storage, apply a more complete protective layer.
Simple repairs
Periodically check for open or broken rings. Remove the damaged ring with pliers, replace it with one of the same material and close or rivet it. For loose rivets, use a punch and hammer to re-secure the joint.
Proper storage
- Conditions: dry, cool and ventilated place.
- Containers: cloth bags or wooden boxes; avoid airtight bags.
- Prevent deformations: hang it on padded hangers or spread it flat.
Safety when working
Use resistant gloves to handle rings and chemical products, work in ventilated areas and take care of your posture to avoid fatigue. If you use acid or chemical removers, protect your eyes and skin.
Where to buy and what to expect
If you don’t want to make every ring, in our online store you can purchase pre-assembled rings in different materials, sizes and closure types. Buying pre-made rings greatly reduces assembly time and allows you to focus on weaving and design. For professional projects, riveted or punched rings are recommended; for LARP, aluminum or butted rings may be sufficient.
Quick comparison: what to choose according to your project
| Project | Recommended material | Closure |
|---|---|---|
| Hauberk for reenactment | Carbon steel or stainless steel | Riveted + punched |
| LARP / Costume | Aluminum | Butted |
| Protective gloves | Stainless steel | Welded or riveted |
Creating chainmail is a task that combines technique, time and care. If you are interested in starting, practice with small pieces, control the quality of each ring and plan maintenance from the outset. If you prefer to save time or need specific materials, you can find them in our online store where we offer rings and chainmail with different finishes and characteristics.
Chainmail is more than an object: it is a lesson in applied engineering, a bridge between ancient crafts and modern uses. The dedication to its manufacture and conservation connects you with generations of artisans and offers you the satisfaction of a piece created entirely with your hands.
VIEW CHAINMAIL HAUBERKS | VIEW MEDIEVAL COIFS OR GORGETS | CHAINMAIL RINGS | VIEW ALPARTACES

